Chocolate Chip Apple Blondies
Chocolate chip. Apple. Blondies. Need I say more?!
Your fall needs this dessert. My mom used to make these when I was growing up and, even though I love them because they remind me of home, they’re also just straight up delicious too.
These are one of my favorite desserts EVER and, because I love dessert, I don’t use that phrase lightly. My mom would make these blondies around Rosh Hashanah time, which is the Jewish new year.
Traditionally, you’re supposed to eat apples and honey for a sweet new year, so this dessert was a fun play on that theme. So, maybe these blondies will make your year sweet? Just an added bonus.
Also, I should point out that while this is my mom’s recipe, she was also very clear with me that she did not create this recipe. She said she got from a Jewish cookbook years ago… but has no clue where. So, if anyone knows the original source, let me know! I’m sure this recipe’s been tweaked and changed over the years, but I’d love to credit where credit’s due.
They come out perfectly every time: gooey, sweet blondie. Soft, cooked apple. Sweet chocolate chips. The combo is unbeatable.
When you’re making the batter, it might seem like it won’t work, but trust me, it does. The batter will be super thick, hard to stir, and won’t seem cohesive. But once you bake it in the oven, it comes together so nicely.
Combine all the ingredients
Preheat oven 325 F.
Place diced apples in a large bowl. Beat the eggs and pour into bowl with apples. Set aside.
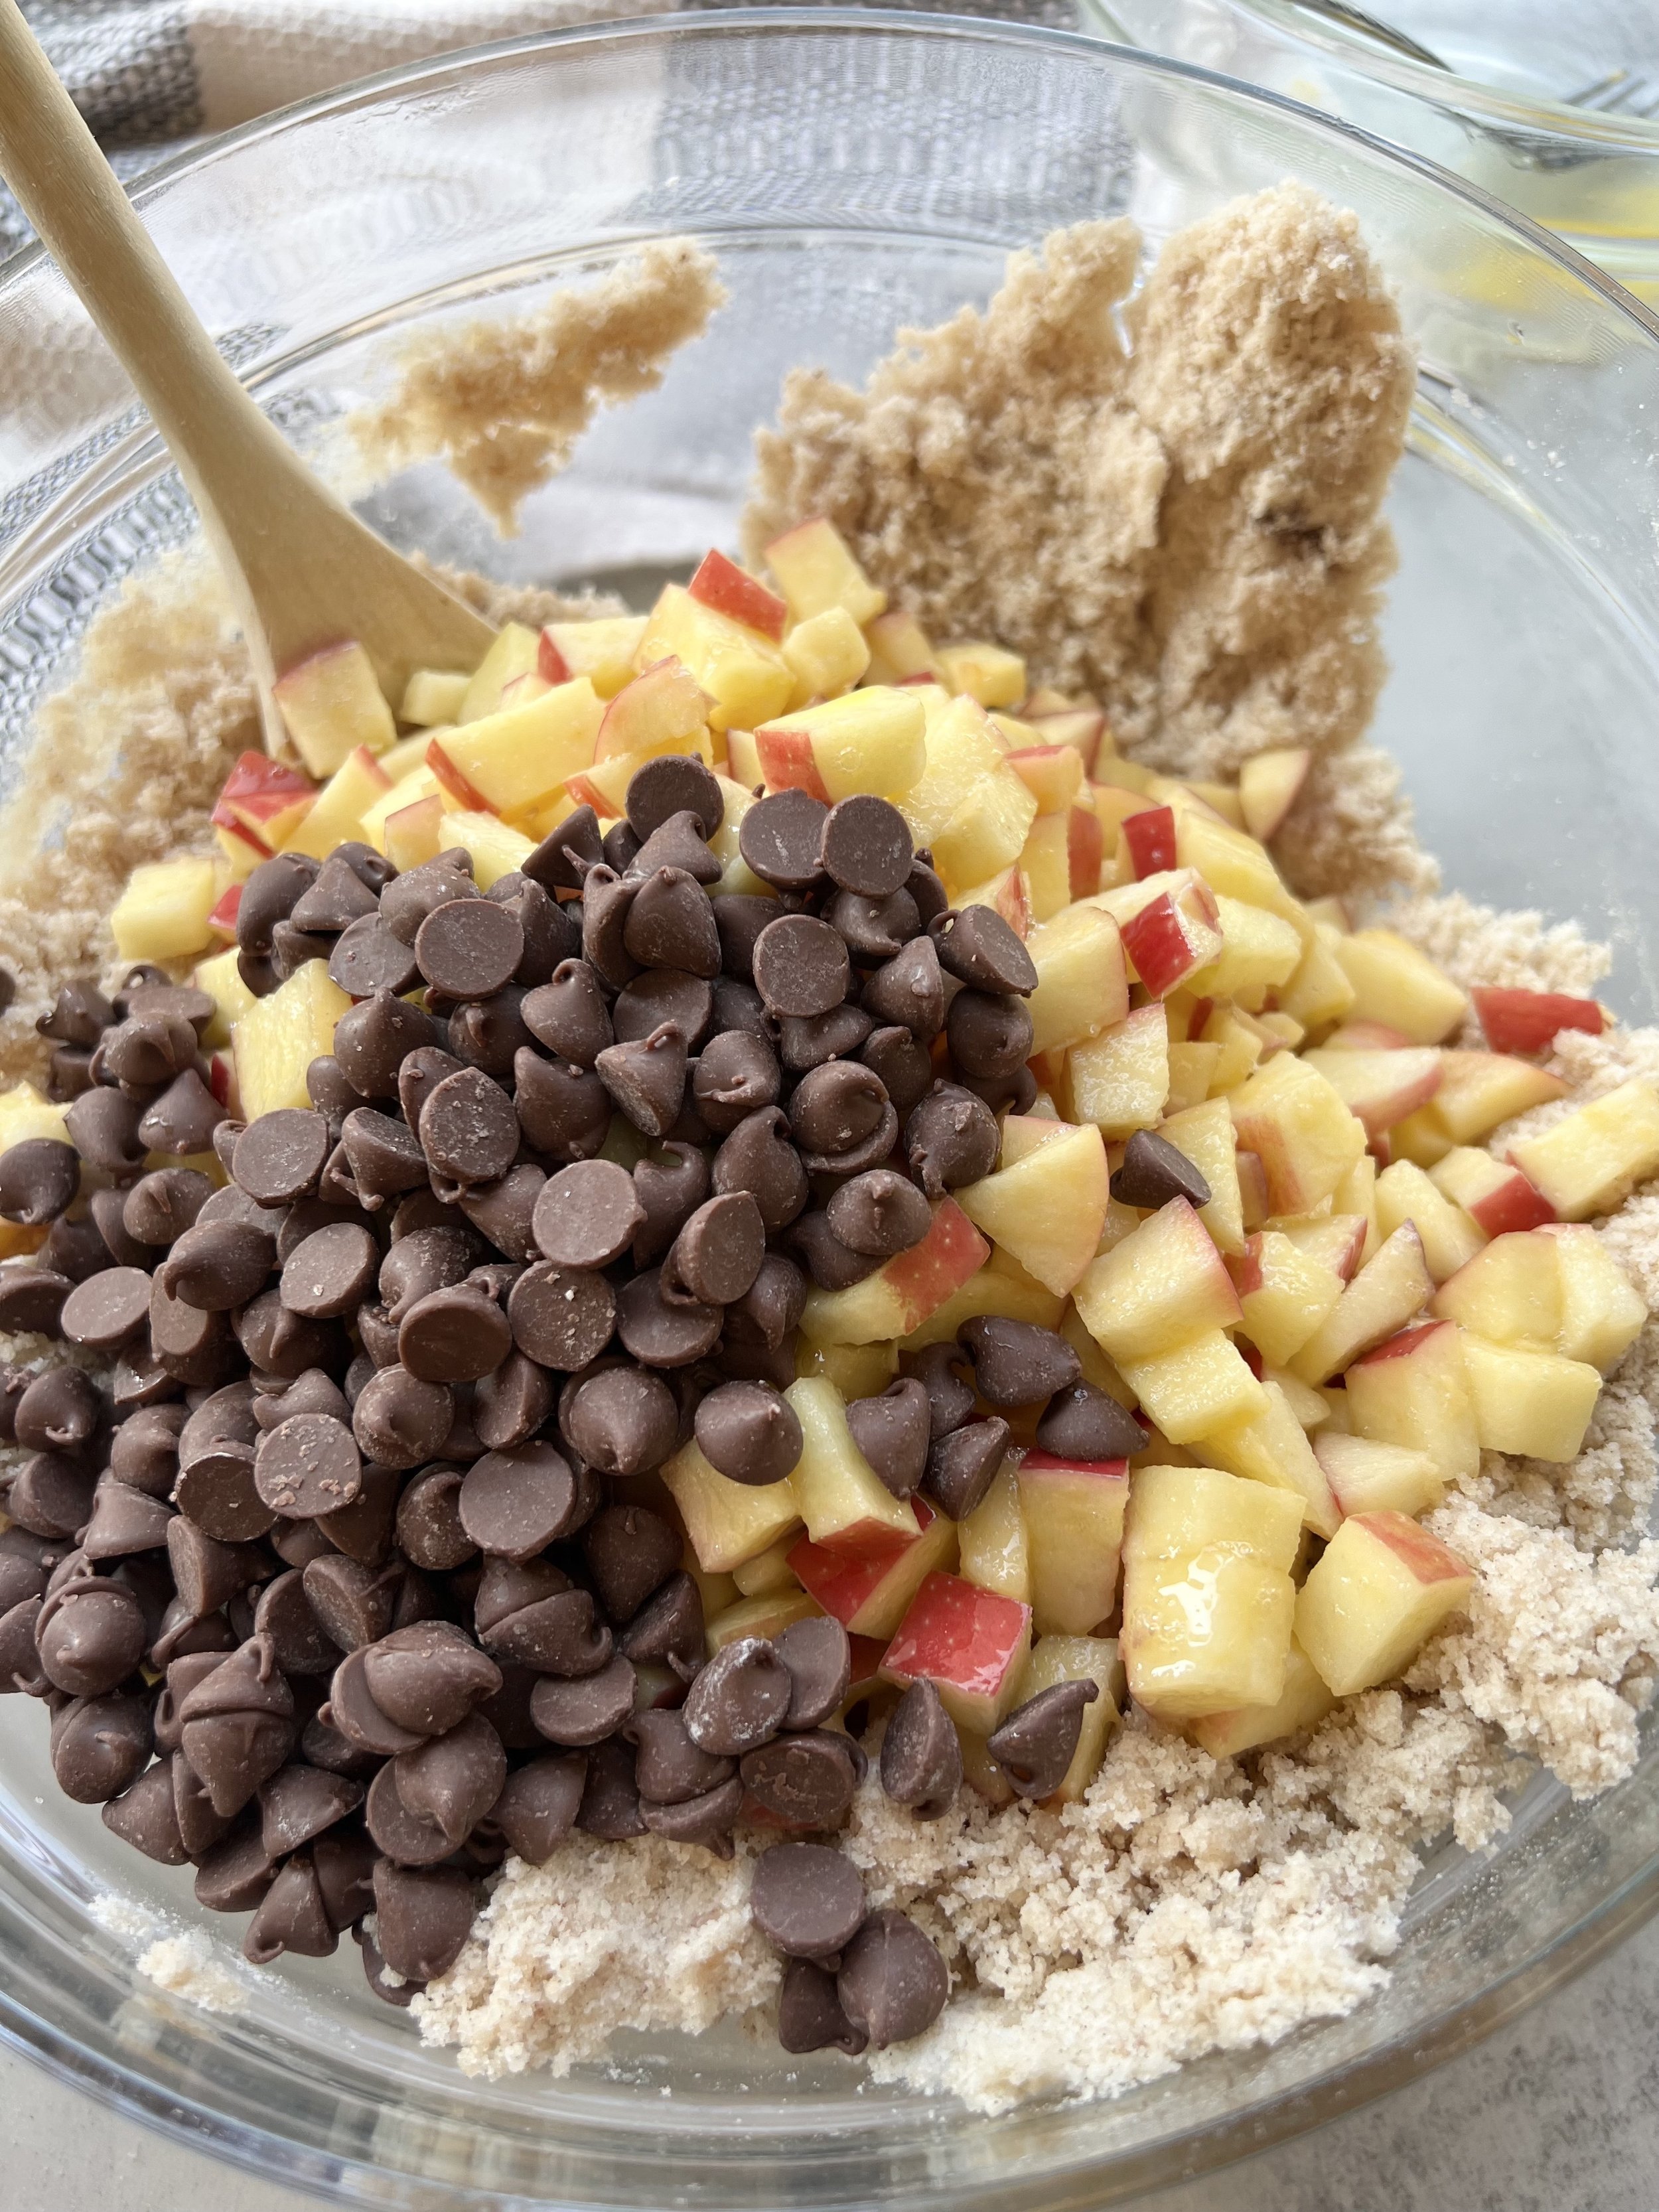
Mix all other ingredients except chocolate chips and any optional items with a wooden spoon (the mixture will be hard to stir).
Mix it up
Add egg and apple mixture, chocolate chips and any optional items. Mix well.
Pour mixture in a greased 9x13 inch pan.
Note: When you make the blondies, note that the batter will be super hard to stir, and that’s normal! Also, you can add in anything you like. I use chocolate chips, but raisins and/or walnuts would also be awesome.
Bake for 45-60 min
Bake in preheated oven for 45-60 minutes, until a knife inserted in the center comes out clean.
Let cool. Cut into slices and serve when ready.
Cover and store leftover blondies at room temperature for up to 2 days or in the refrigerator for up to 1 week.
Everything else you need to know
Apples: Any variety of red apple works for this recipe. I use honey crisp!
Additions: Other mix ins, like raisins and chopped walnuts, are also delicious in these bars. Try decreasing the chocolate chips to 1/3 cup and adding 1/3 cup of raisins and 1/3 cup of walnuts. Or use 2/3 cup chocolate chips and 1/3 cup walnuts or raisins.
Storage: Store these bars in a single layer in an airtight container in the fridge. If stacking them, place a piece of parchment paper between the layers. They’ll last for up to 1 week in the fridge. Alternatively, you can also place them in the freezer for up to 1 month.
Did you try this recipe?
I hope you love these Chocolate Chip Apple Blondies! If you make it be sure to leave a comment below, mention @Veggiesandchocolate or tag #Veggiesandchocolate so I know how you liked it. I can’t wait to see your creations!

Chocolate Chip Apple Blondies
Ingredients
- 5-6 apples, diced (any red ones work well)
- 2 eggs
- 2 cups sugar
- 2 1/2 cups all-purpose flour
- 1 tsp baking soda
- 3/4 tsp salt
- 2 tsp. cinnamon
- 3/4 cup vegetable oil
- 1 cup chocolate chips
Instructions
- Preheat the oven to 325 F. Grease a 9x13 baking dish.
- Place diced apples in a large bowl. Beat the eggs and pour into the bowl with the apples. Set aside.
- In a separate large bowl, add flour, sugar, baking soda, salt, cinnamon and vegetable oil. Using a wooden spoon, mix well. The mixture will be hard to stir and will look a little dry, almost like a crumble - this is normal.
- Add the egg and apple mixture to the bowl. Add chocolate chips and any optional items. Mix well until thoroughly combined.
- Pour into the baking dish, using a spoon or spatula to even out the top and press the mixture tightly together.
- Bake in the preheated oven for 45-60 minutes, until a knife inserted in the center comes out clean.
- Let cool. Cut into slices and serve when ready.
Check out more holiday recipes to make this week!
Savory Sweet Potato Pancakes
Who doesn’t love sweet potatoes?! While these Sweet Potato Pancakes are a twist on a traditional potato pancake, or latke, usually served at holiday time, honestly, these are good any time of year.
Peanut Butter Pumpkin Bars
Fall is almost here and that means pumpkin recipes are coming! And what’s better than a bar that combines pumpkin and chocolate?!
Banana Chocolate Chip Macaroons
3 simple, main ingredients. 15 minutes to make. And they make a perfect sweet snack or dessert. You will love these easy macaroons.
Chocolate Matzah Toffee
With the Jewish holiday, Passover, coming up this weekend, I knew I had to make a batch of this matzah toffee. It might be one of the only ways I actually enjoy matzah.


